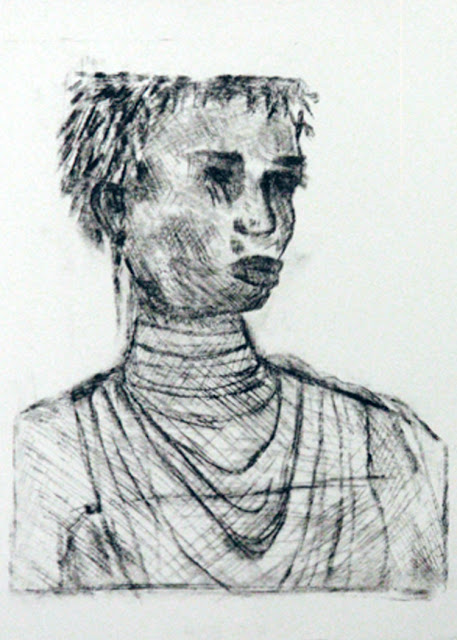
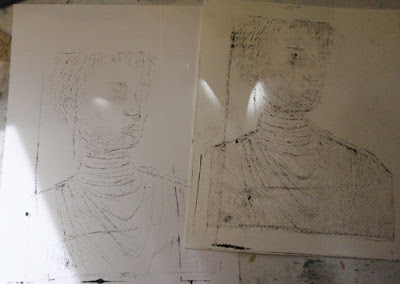
This is the story of an experiment of hand-pulling a dry-point print with oil paint and a acrylic sheet as a plate.
I had this charcoal sketch that I liked, but the fixative I sprayed on it came out in globs and ruined the canvas. So I took pictures of it and am experimenting with many techniques of transferring and printing.
This time, it's drypoint.
I taped an acrylic sheet to the top of a print out of the charcoal sketch so it wouldn't move while I was scratching the lines I wanted. The image itself is designed to be 8"x10."
This is part of the mark-making in progress.
Here is the finished plate on a black paper background to check the linework.
This is the inked plate and the oil paint I used to ink it. I learned from a few failed pulls to mix it with a bit of paint thinner first.
I also used a dollar store squeegee to wipe off most of the paint at first, and paper napkins to clean up the edges--but not rub over the lines, if possible.
I also used a dollar store squeegee to wipe off most of the paint at first, and paper napkins to clean up the edges--but not rub over the lines, if possible.
Here are a few failed pulls. I also used a paper with too much texture, and it didn't get in the crevices.
I tried acrylic paint too, but it was my technique that wasn't working.
Here are my successful pulls! For the scope of this project, I used no cloth under my brayer rolling pin, and instead also rubbed it with a smooth glass lid as well, and it it really worked.

This is my favorite print right now. I think I will try to make 5-7 altogether, and mat them to put on Etsy as editions!!!


No comments:
Post a Comment